Someone filled out your contact form at 11:30pm last night. They were ready to talk — ready enough to stop what they were doing, find your website, type out their name and email, and hit submit. You saw the notification this morning at 8:47am. You replied at 9:15am. They’d already booked a call with someone else.
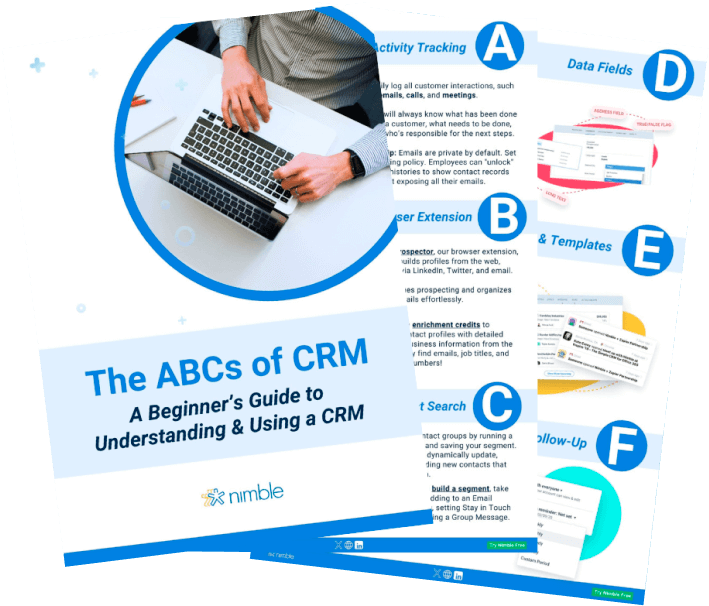
This isn’t a motivation problem. It isn’t a discipline problem. It’s a system problem. No human being can respond to leads at 11:30pm every night — but an automated lead follow-up sequence in Nimble can. Once it’s set up, it fires the moment someone submits your form, follows up automatically if they don’t reply, and stops the second they do. You don’t have to touch your inbox once.
This post walks through exactly how to build that system: how to create the automated lead follow-up sequence in Nimble, the web form trigger that connects it to your site, the four-step blueprint with real email copy, and how to read the results once it’s running.
Why automated lead follow-up has to be instant
A study published in the Harvard Business Review found that companies responding to web leads within an hour were nearly seven times more likely to have a meaningful conversation than those who waited even one hour longer — and more than 60 times more likely than companies that waited 24 hours or more.
For a small business, “responding within an hour” sounds impossible. It isn’t — if the response is automated. The goal isn’t to replace the conversation. It’s to make sure the lead knows you got their message, feels like you’re on it, and stays warm until you can actually talk.
That’s exactly what a web form sequence does. The first email goes out in seconds. The rest follow a schedule that runs without you.
How to build the sequence in Nimble
Go to Outbound → Sequences → New Sequence. Give it a name (“Web Lead Follow-up” works fine), pick a color to identify it, and choose which email account it should send from.
From there, build the steps manually. Each step is either a Message (an email that sends automatically), a Delay (a waiting period before the next step fires), or a Condition (a branch that checks whether the contact opened or replied). The four-step blueprint below uses all three.
One setting to configure before anything else: the global exit condition. In your sequence settings, set it to “Exit as Successful when contact replies.” This is what stops the sequence the moment someone responds — so a lead who replies to Email 1 never gets Email 2.
Connect your web form to trigger follow-up automatically
The sequence is built. Now connect it to your web form so contacts enroll the moment they submit. Here’s how:
Free Guide
The ABCs of CRM
A Beginner's Guide to Understanding &
Using a CRM
Download Free
You’re All Set!
DownloadGet the most out of this guide by starting your free 14-day trial of Nimble today.
- Open the sequence in Outbound → Sequences.
- Click into the sequence settings and find the Enrollment section.
- Under trigger type, select Web Form.
- Choose the specific form — or all forms — that should enroll contacts into this sequence.
- Toggle Auto-enroll on submission on.
From this point on, anyone who submits that form gets created as a contact in Nimble and enrolled in the sequence automatically. No spreadsheet to check, no reminder to set, no manual data entry. The trigger fires before you even know the lead exists.
The four-step sequence — with real email copy
Here’s what the full sequence looks like. Each step has one job. None of them should be doing a different job than the one they’re designed for.
The only goal here is to confirm you got their message and deliver whatever they asked for. No pitch. No long intro. If your form offered a guide or resource, send it. If it was a general contact form, acknowledge it and set expectations.
This email earns attention by being genuinely helpful. Send something they didn’t ask for but will want — a specific tip, a relevant resource, an insight from a similar customer. Don’t ask for anything. Don’t mention a call. Just be useful.
If they opened Email 2, they’re paying attention — send a proof point email next. If they didn’t open it, resend the same content with a completely different subject line. Changing the subject line on an unopened email regularly recovers 10–20% of that send. Don’t skip this step.
The final email. The goal is to close the loop without burning the relationship. No urgency, no pressure. Just a human check-in that leaves the door open. This email consistently gets more replies than any other in the sequence — not because it’s clever, but because it’s honest.
What to watch in your sequence report
Once leads start flowing through, Nimble’s sequence report shows three tabs: Active (currently enrolled), Successful (exited because they replied or met a positive condition), and Unsuccessful (completed all steps with no engagement).
The number that tells you whether the sequence is working is your Successful exit rate — the percentage of enrolled contacts who exit as Successful. Under 15% means something is wrong early in the sequence, almost always the subject line on Email 1. Over 35% means the sequence is doing its job well. Between 15–35% is normal for most small business outreach — tighten the subject lines and keep going.
Check it after the first 30 contacts have run through the full sequence. That’s enough data to see a real pattern. Anything fewer and you’re reacting to noise.
How Joinery Supplies went from 20% to 75% engagement
Jonathan is the Sales Manager at Joinery Supplies, a business that sells tools and materials to woodworking professionals. Before Nimble, his team was following up with about 20% of their inbound leads — not because they didn’t care, but because lead data lived across spreadsheets, email inboxes, and manual lists. Leads fell through the gaps constantly.
After setting up web form sequences in Nimble, every new lead entered the same workflow automatically. No more manual tracking. No more leads that slipped through because someone was traveling. Within a month, their email engagement rate on the sequence hit 75%.
The leads didn’t change. The follow-up system did. Read the full Joinery Supplies case study →
Three things to check before your automated follow-up goes live
Before switching auto-enroll on, check these three things. Skipping any one of them is the most common reason a sequence either doesn’t send or sends with the wrong name.
- Your email account is connected. Sequences send through your email provider — Gmail or Outlook — not through Nimble’s servers. Go to Settings → Email and confirm your account is connected. If it isn’t, sequences won’t send.
- Your sender name and signature look right. The emails go out as you. Before the first automated email fires, send yourself a test. Check that your from name, email address, and signature look the way you’d want a real lead to see them.
- The global exit condition is set at the sequence level, not just on Email 1. The “exit successful on reply” rule needs to live on the sequence itself. If it’s only on the first step, a lead who replies after Email 2 might still receive Email 3. Confirm the global condition is there before you go live.


